Magic 8 Ball
Magic Eight Ball
custom, trick, modify
Not So Magic
Getting the results you want from your Magic 8 Ball
Magic 8 Ball
Magic Eight Ball
custom, trick, modify
Not So Magic
Getting the results you want from your Magic 8 Ball

If luck favors the prepared, then prepare to make your own luck by rigging a Magic 8 Ball.
This site walks through the steps to make a Magic Eight Ball ® consistently return the answer that you want. The power of the altered eight ball should be used with deference and discretion. Enjoy.
Not So Magic
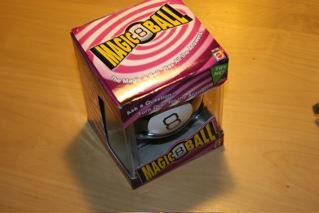
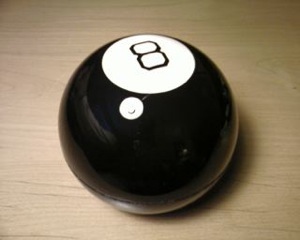
“Magic 8 Ball” ®
About your new unmolested Magic 8 Ball®
The Magic 8 Ball, herein the M8B, contains an icosahedron that reportedly contains 50% positive, 25% negative, and 25% vague answers molded in bas relief across its 20 planar facets. I suppose I should have verified this when I had the chance, but I didn’t, so you may want to check for yourself.
As you will later see, this platonic solid isn’t really solid at all. The ball will probably not answer your questions with answers that jibe with the percentages above because of the variables of liquid viscosity at temperature, the fluid dynamics through the hollow geometry and the varying
embossments, and a (suspected) lack of precision balance. All the more reason to modify the thing.
There were other fascinating aspects of the ball to recount, but they were lost in a small intentional lab fire.

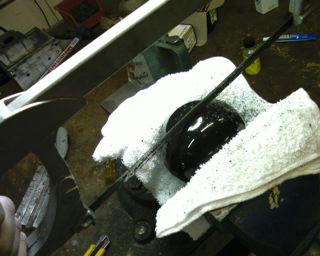
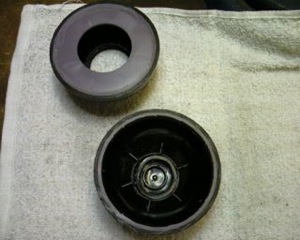
Toroidal Lobe Separation
I sawed the thing in half with a fine-toothed hacksaw. A thin blade and a careful and consistent cut will bring about a better result.
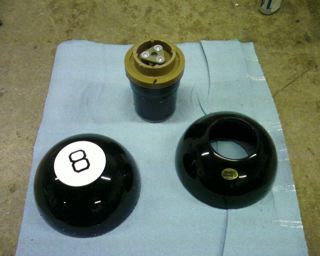
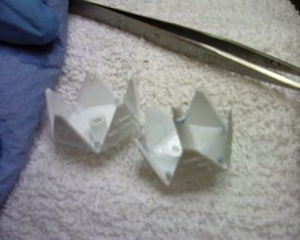
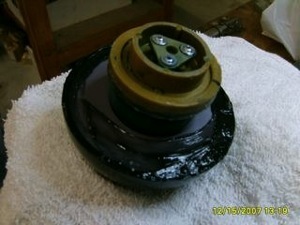
Twin Hemispheres and a Core
After the sawing exercise, here’s what you get, the two lobe halves and the functional bit of the whole affair, the core... where chance will soon be replaced by a pre-determined destiny of your choosing.
Note the glued-in toroidal piece on the upper lobe half. If you saw straight along the center groove, you should get a clean cut.
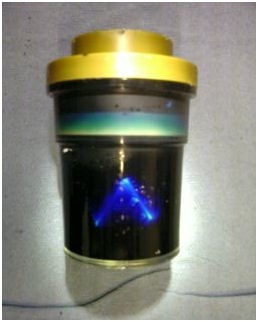
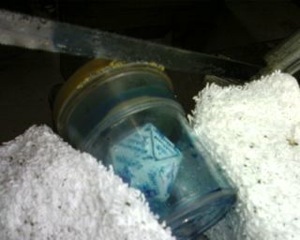
The Core: A Reservoir of Molten Cerulean Blue
The core contains the sage die in its blue liquid suspension medium (‘ball juice’).
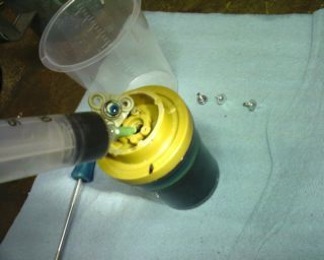
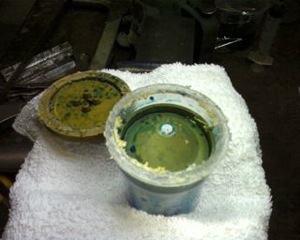
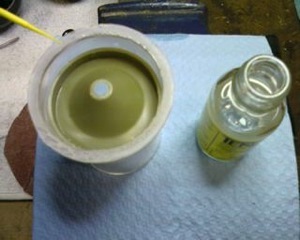
Access Granted
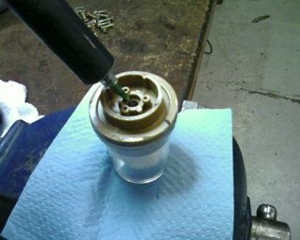
The core’s airlock, once breached, grants access to the liquid. I used a syringe to syphon it out.
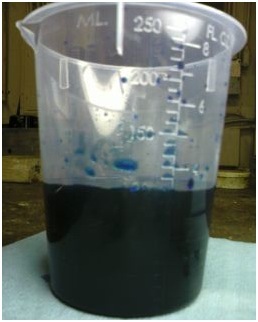
Exsanguination Complete!
There are about three ounces of liquid. Make sure you cover it as soon as possible in case something shiny grabs your attention and you don’t return for a month or two.
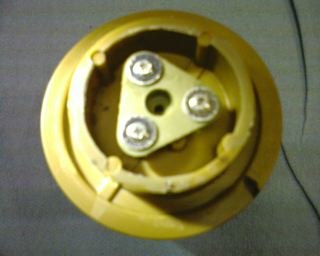
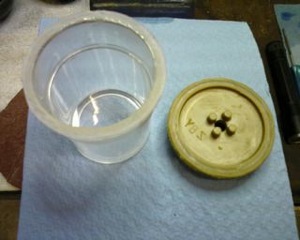
Core Airlock
A trinity of philips-head screws keeps the liquid from evaporating. One can gain access to the liquid from here, but getting at the die requires an altogether different procedure.
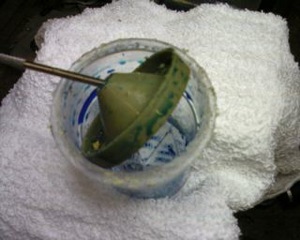
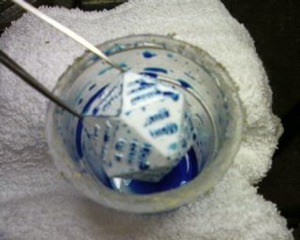
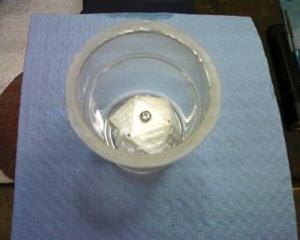
The Die Revealed
Here the captured die is observed. Next we’ll get it out.
Removing the Die
The die is sealed in the core, so getting it out requires a bit of surgery. Cut where the cap and the clear cylinder pieces are glued together.
The Cone
Once the cap is removed, the interior cone can be seen. I suspect that the cone helps air stay out of the main cylinder during the manufacturing process, but that’s really just wild speculation.
Cone Removal
The cone isn’t attached, so removal is easy.
The Die
Finally! The icosahedron is revealed. I pull it out with reverence and the precision of German stainless tweezers.
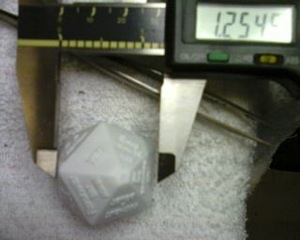
Die Measurements
The die is approximately 1.25 inches in diameter or 1.2545” if you’re an engineer.
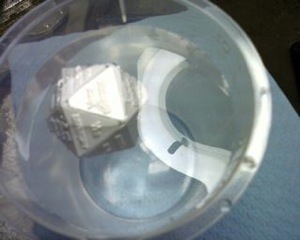
Float Test
As suspected, then observed, the die does in fact float (even in regular water).
Split Die
This was a disappointment for me. The die is made up of two pieces of flimsy, cheap-feeling plastic. I didn’t expect bone or ivory, but maybe some part of me did.
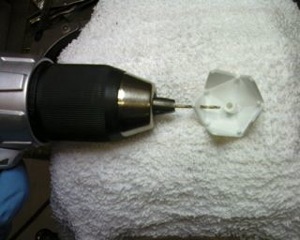
Die Modification 1
The whole point of M8B modification is so that you can get the die to return the same result consistently and, more importantly, the result that you want. I did this by installing a small counter-weight on the die.
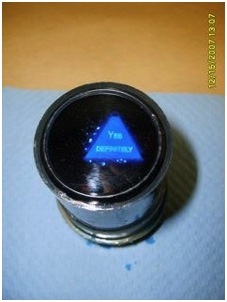
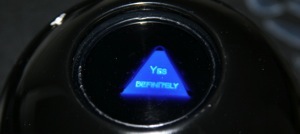
1. Find the facet that contains the desirable message. I chose ‘Yes Definitely’.
2. Find the facet on the direct opposite side of your chosen facet. It’ll be on the other die half.
3. Drill a small pilot hole in the latter facet.
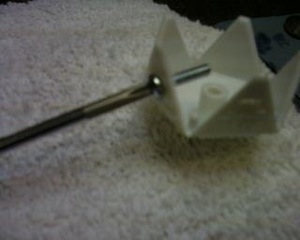
Die Modification 2
4.Drill a small screw into the pilot hole. If the screw is too heavy then the die won’t float all the way up to the viewing window and if it’s too light your results may vary (which you don’t want).
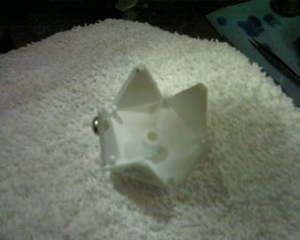
Die Modification 3
5. Snip off the body of the screw. This should produce the desired effect. You can test your results in regular water to make sure you’ve got the proper weight and position.
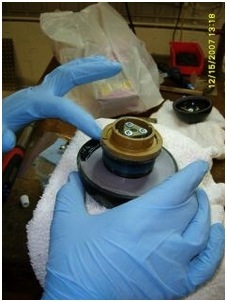
Preparing for Reassembly
I used a belt sander to smooth the lip of cylinder for re-gluing, but then, who am I?
Core Cylinder and Cap
Ready for the reunion.
Drop in the Modified Die
Back at home with a new attitude.
Core Cylinder and Cap Get Glued
Super glue works well.
Squeeze and Cure
I used a vice to hold the pieces together while the bonding agent cured.
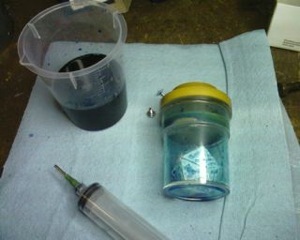
Re-sanguination!
Refilling the cylinder is easy. Keeping air bubbles from forming in the cylinder is not.
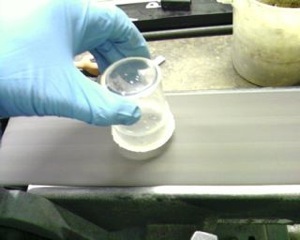
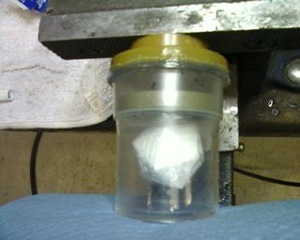
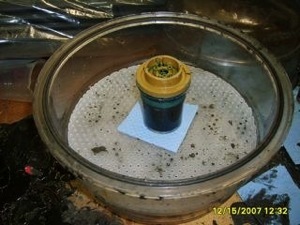
Vacu-Suction
There just happened to be a vacuum chamber around the shop, so I used it to remove the air bubbles. This step isn’t strictly necessary, but it helps (unless you over-do it).
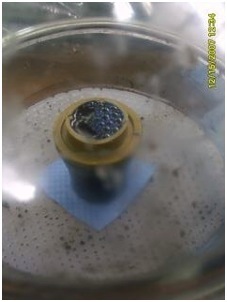
The Great (Bubble) Escape
Twenty inches of vacuum did the trick, and then some. Don’t pull too much vacuum (like I did) and boil the water. This is an example of why the vacuum of space isn’t healthy for us (aside from the -270 F temperature), water boils at room temp when a vacuum of one+ atmospheres is pulled on it. Ouch, my eyes!
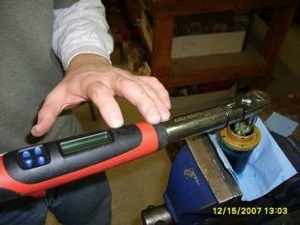
Core Airlock Sealed
The trinity of screws are graciously re-torqued. Use inch-pounds when doing this and use very few of them.
Live Test
It works! Some bubbles may just be something that you’ll have to live with, even if you do have a vacuum chamber.
Final Reassembly
Slip the core into the lobe half that has the toroidal piece in it (and the viewing window, duh).
Seal
I used silicone sealant applied liberally onto the interior of the inner toroid and sparingly around the outer edges.
Reunited (feels so good)
Once again, I used a vice to hold the lobe halves together while the sealant cured. The towel keeps the plastic surface from getting scuff marks from the vice.
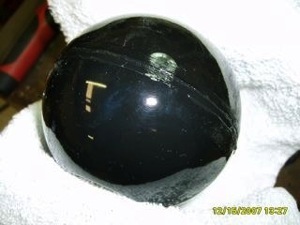
Final Cleaning and Polish
When the sealant is fully cured, remove any bits of sealant that look like they shouldn’t be there and then polish the ball with a non-scratching cloth and a mild soap. This will make the ball look less suspicious.
Paydirt!
Now that you’ve got destiny on your side, how will you use it?